 Gambar 1. NodeMCU [sumber]
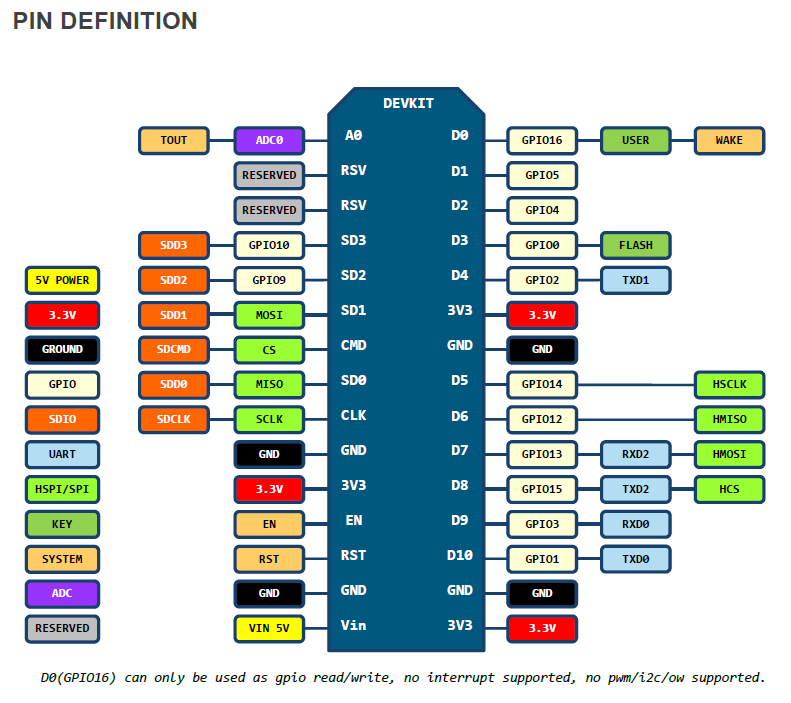 Gambar 2. [sumber]
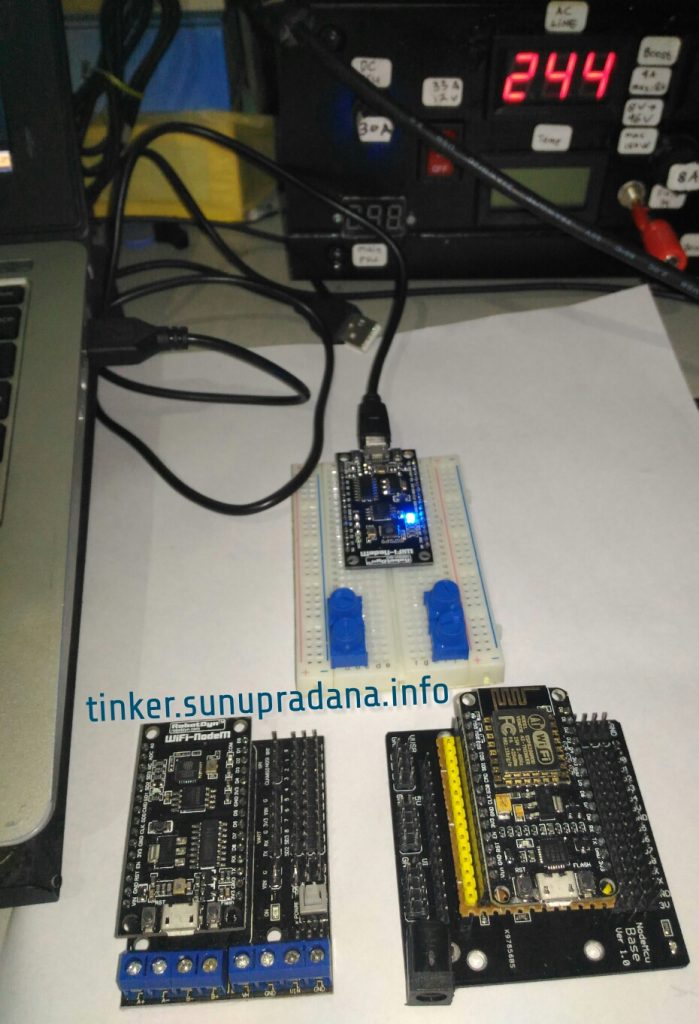
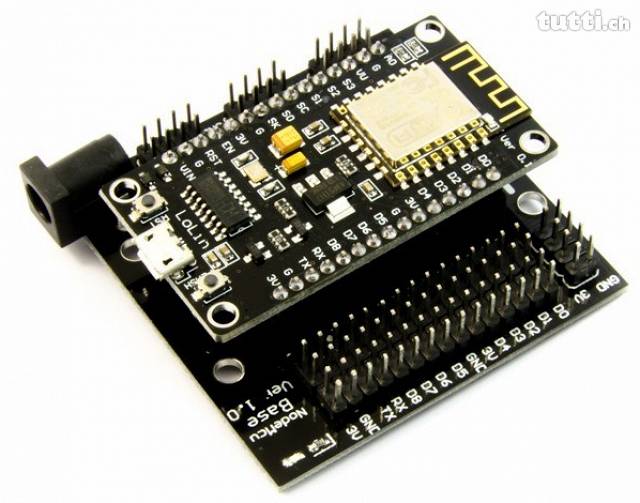 Gambar 3. NodeMCU + Base yang tidak memerlukan tambahan adapter [sumber]
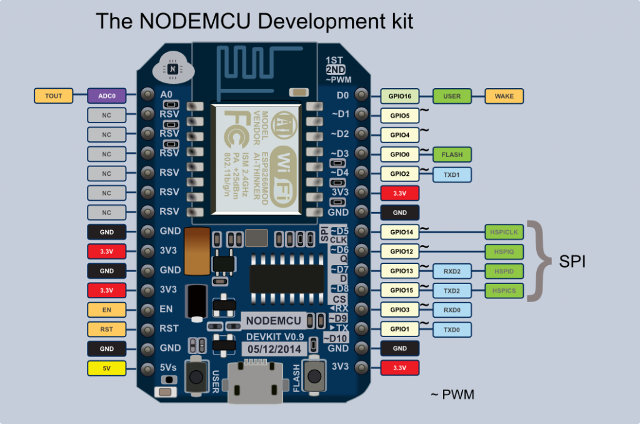 Gambar 4. NodeMCU v0.9 pinout [sumber]
Perbedaan antara v0.9 dan v1.0:
If you are going to purchase a NodeMCU board it’s important to know there are two official versions:
- NodeMCU v0.9 with ESP-12 module
- NodeMCU v1.0 with ESP-12E module
The main complain about NodeMCU v0.9 is that while it fits on the breadboard, you can’t use as it takes the full width of the board, while NodeMCU v1.0 is really breadboard-friendly as you can see on the right part of the picture above.
wget https://github.com/nodemcu/nodemcu-firmware/releases/download/0.9.6-dev_20150704/nodemcu_integer_0.9.6-dev_20150704.bin
$ /home/sunu/.arduino15/packages/esp8266/tools/esptool/0.4.9/esptool -p /dev/ttyUSB0 erase_flash
$ clear; esptool.py --port /dev/ttyUSB0 flash_id

$ reset; esptool.py --port /dev/ttyUSB0 write_flash -fm dio 0x00000 nodemcu_integer_0.9.6-dev_20150704.bin

$ reset; esptool.py --port /dev/ttyUSB0 write_flash 0x00000 nodemcu_integer_0.9.6-dev_20150704.bin

$ reset; esptool.py --port /dev/ttyUSB1 write_flash -fm dio 0x00000 nodemcu_integer_0.9.6-dev_20150704.bin

$ reset; esptool.py --port /dev/ttyUSB0 write_flash 0x00000 nodemcu-master-7-modules-2017-07-03-14-56-15-integer.bin
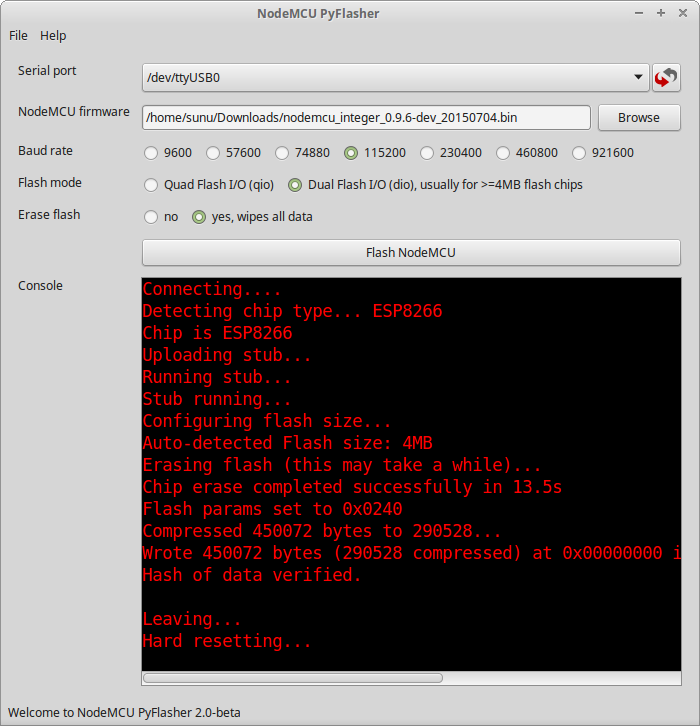 Gambar 5.
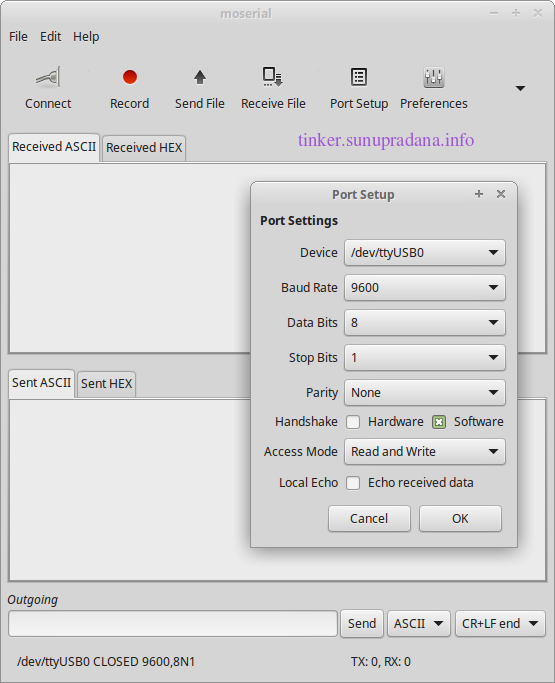 Gambar 6.
Lakukan hardware reset pada nodeMCU DevKit, setelah menekan Connect pada Moserial.
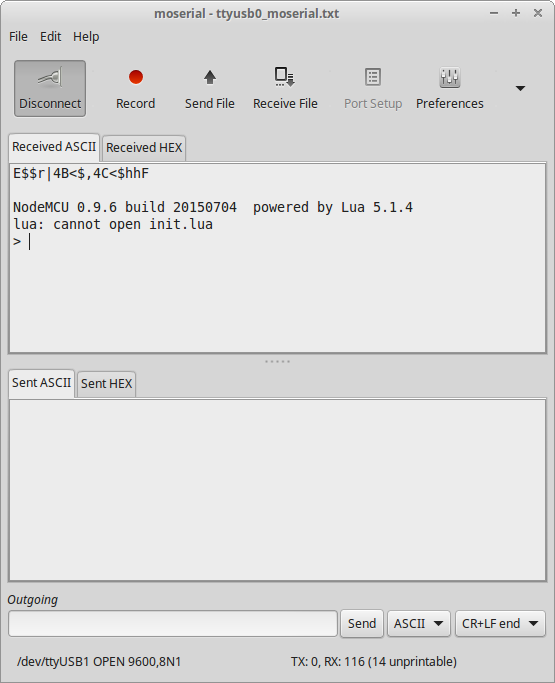 Gambar 7.
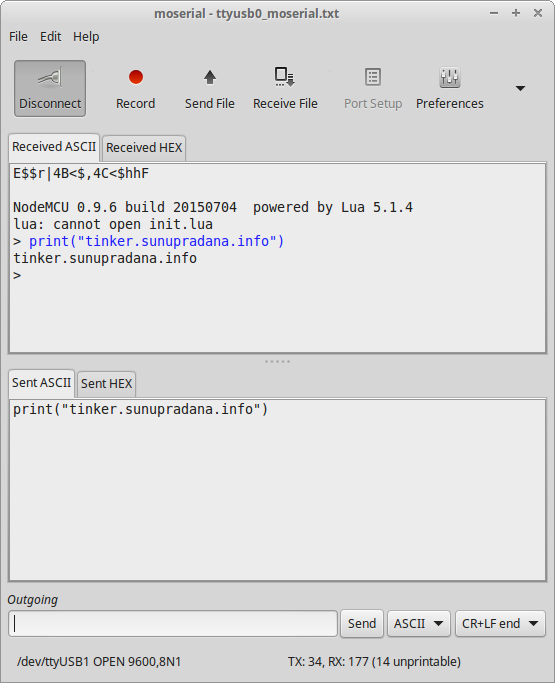 Gambar 8.
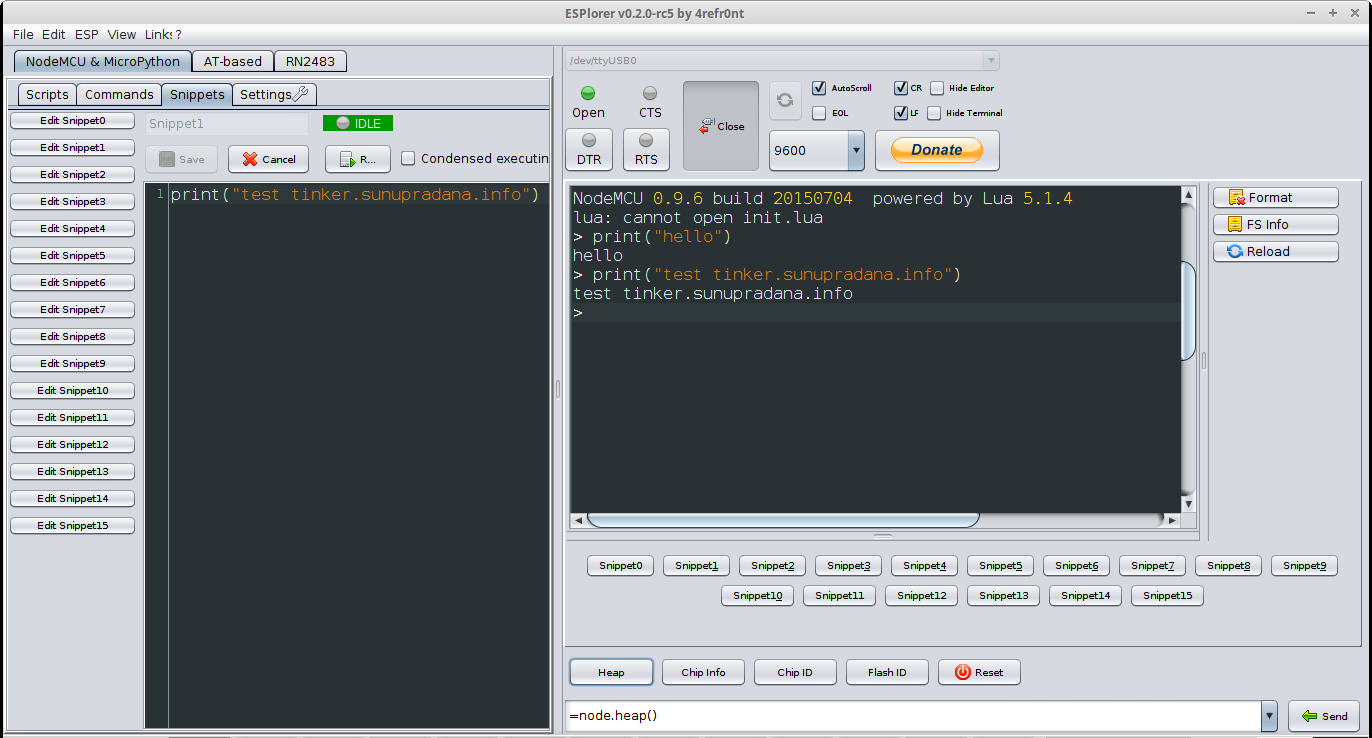 Gambar 9.
Lakukan hardware reset pada nodeMCU DevKit, setelah menekan Open pada ESplorer.
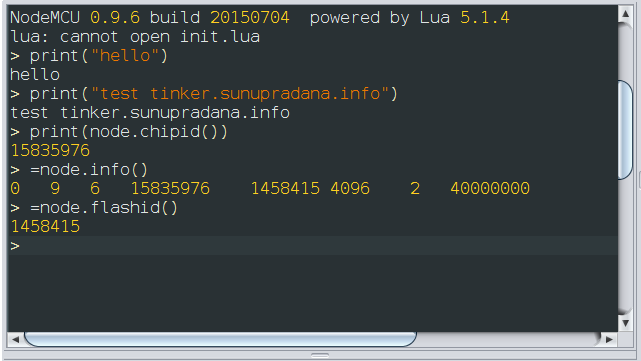 Gambar 10.
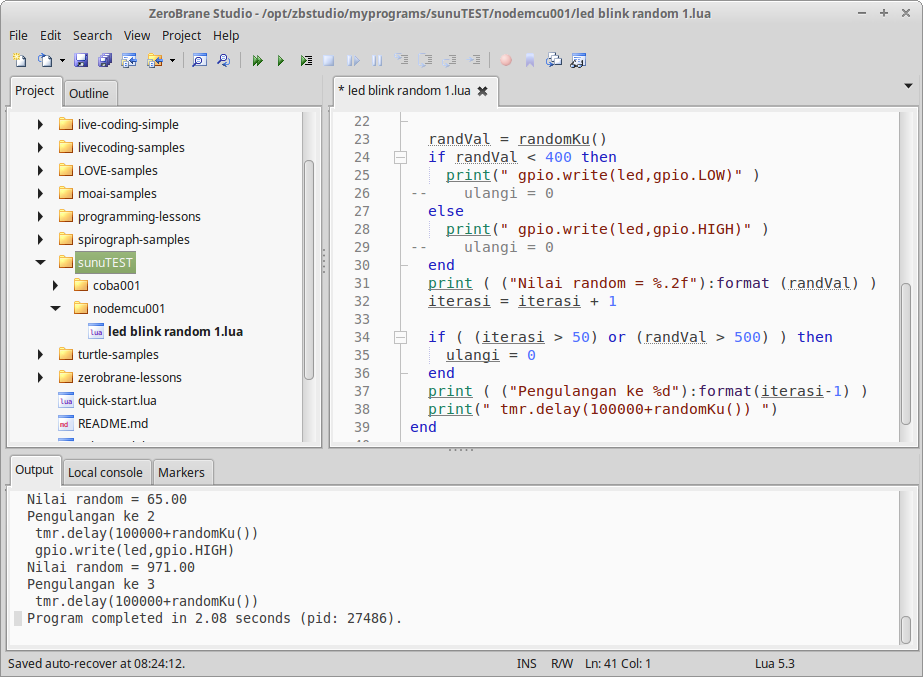 Gambar 11.
pin = 0
gpio.mode(pin,gpio.OUTPUT)
print("tinker.sunupradna.info")
while 1 do
    gpio.write(pin,gpio.HIGH)
    tmr.delay(100000)
    gpio.write(pin,gpio.LOW)
    tmr.delay(100000)
end
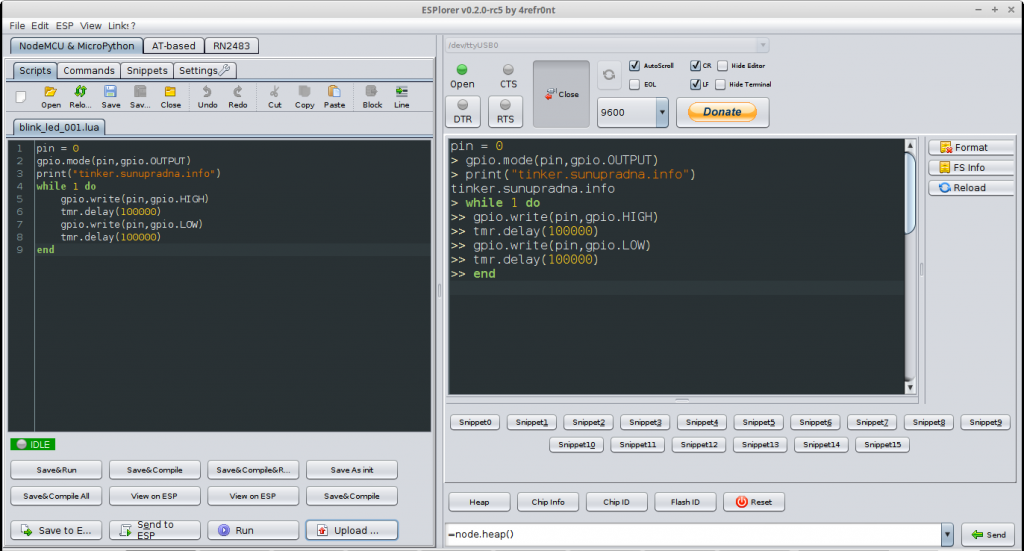 Gambar 12. [ klik gambar untuk memperbesar tampilan ]
~/workspace/LUA/LED_blink $ nodemcu-tool devices
[NodeMCU] Connected Devices | Total: 1
	  |- /dev/ttyUSB0 (Silicon_Labs, usb-Silicon_Labs_CP2102_USB_to_UART_Bridge_Controller_0001-if00-port0)
~/workspace/LUA/LED_blink $ nodemcu-tool --connection-delay 200 -p /dev/ttyUSB0 -b 9600 run blink_led_001.lua
[NodeMCU-Tool] Connected
[NodeMCU] Version: 0.9.6 | ChipID: 0x74b61 | FlashID: 0x1640e0
~/workspace/LUA/LED_blink $ nodemcu-tool --connection-delay 200 -p /dev/ttyUSB0 -b 9600 upload blink_led_001.lua
[NodeMCU-Tool] Connected
[NodeMCU] Version: 0.9.6 | ChipID: 0x74b61 | FlashID: 0x1640e0
[NodeMCU-Tool] Uploading "blink_led_001.lua" >> "blink_led_001.lua"...
[NodeMCU-Connector] Transfer-Mode: hex
[NodeMCU-Tool] File Transfer complete!
~/workspace/LUA/LED_blink $ nodemcu-tool init
[NodeMCU-Tool] Creating project based configuration file..
[NodeMCU-Tool] Baudrate in Bit per Seconds, e.g. 9600 (default) (9600) 9600
[NodeMCU-Tool] Serial connection to use, e.g. COM1 or /dev/ttyUSB2 (/dev/ttyUSB0) /dev/ttyUSB0


~/workspace/LUA/LED_blink $ nodemcu-tool run blink.lua
[NodeMCU-Tool] Project based configuration loaded
[NodeMCU-Tool] Connected
[NodeMCU] Version: 0.9.6 | ChipID: 0x74b61 | FlashID: 0x1640e0


~/workspace/LUA/LED_blink $ nodemcu-tool upload init.lua
[NodeMCU-Tool] Project based configuration loaded
[NodeMCU-Tool] Connected
[NodeMCU] Version: 0.9.6 | ChipID: 0x74b61 | FlashID: 0x1640e0
[NodeMCU-Tool] Uploading "init.lua" >> "init.lua"...
[NodeMCU-Connector] Transfer-Mode: hex
[NodeMCU-Tool] File Transfer complete!
init.lua
--**delay sebelum loop**
--dofile("blink_led_001.lua")

print("tinker.sunupradana.info")
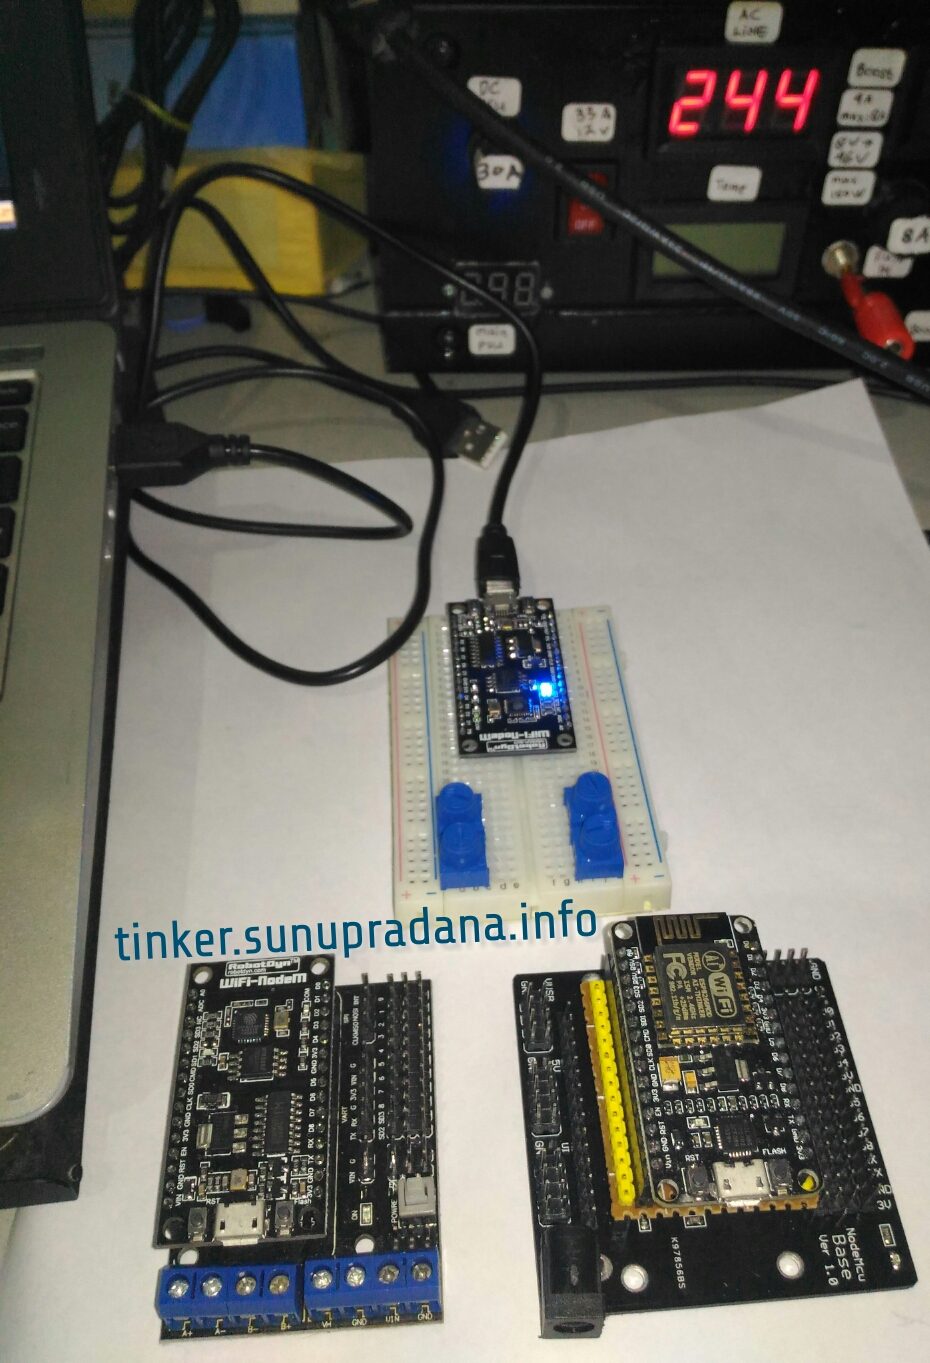
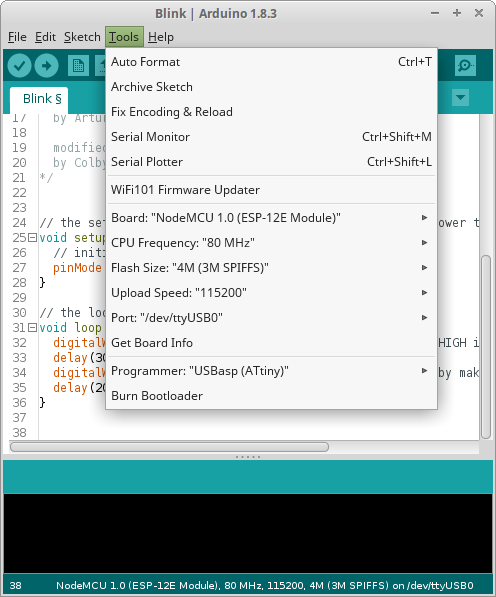 Gambar 13.
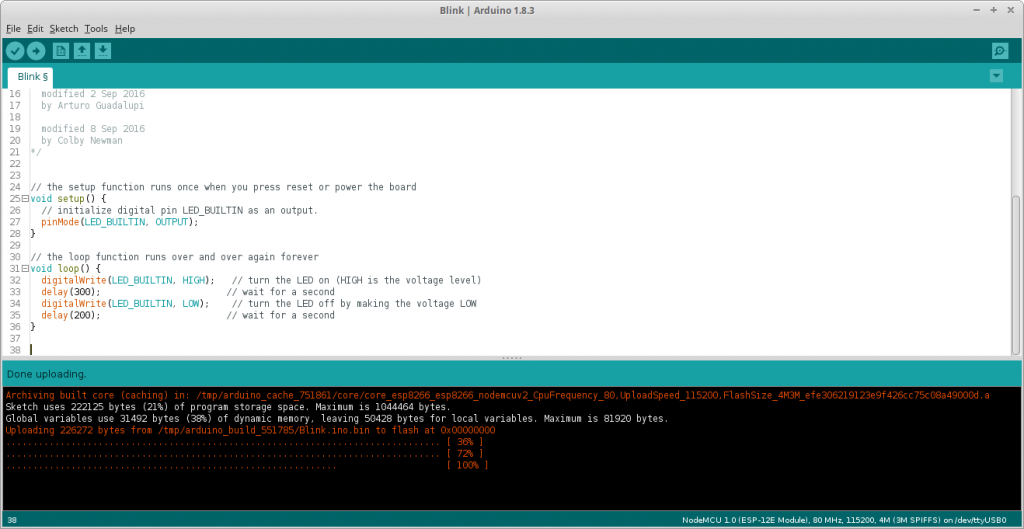
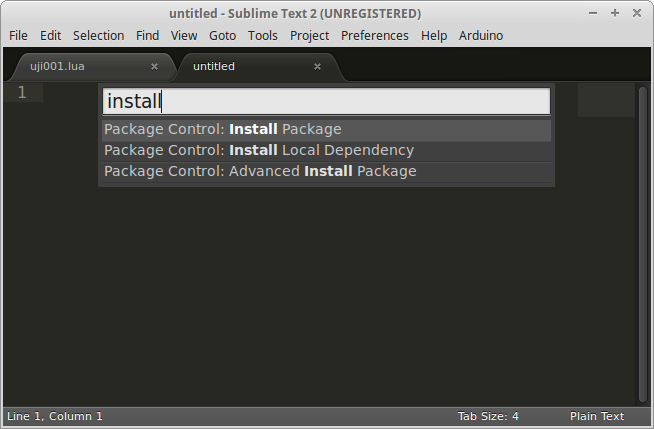 Gambar 1. Package Control telah terinstal dan siap untuk dipergunakan
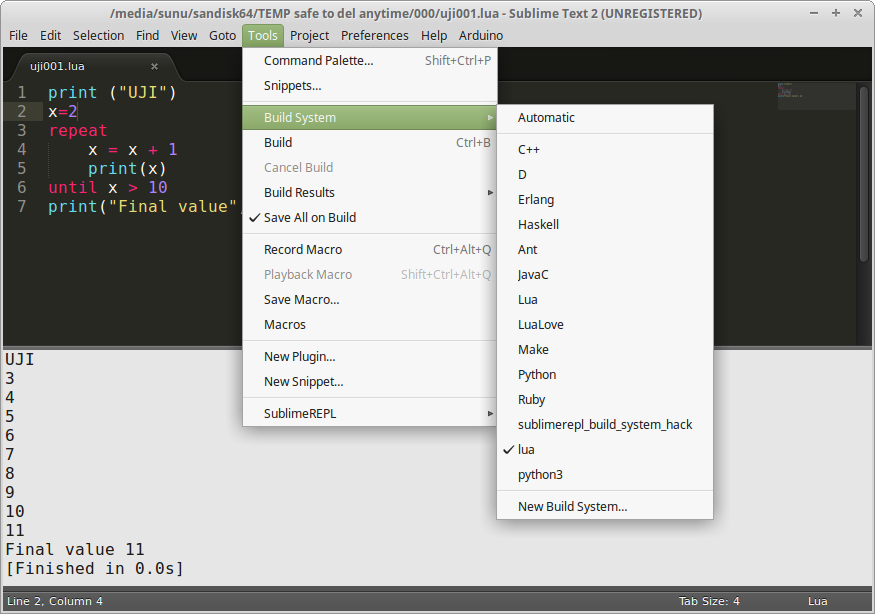
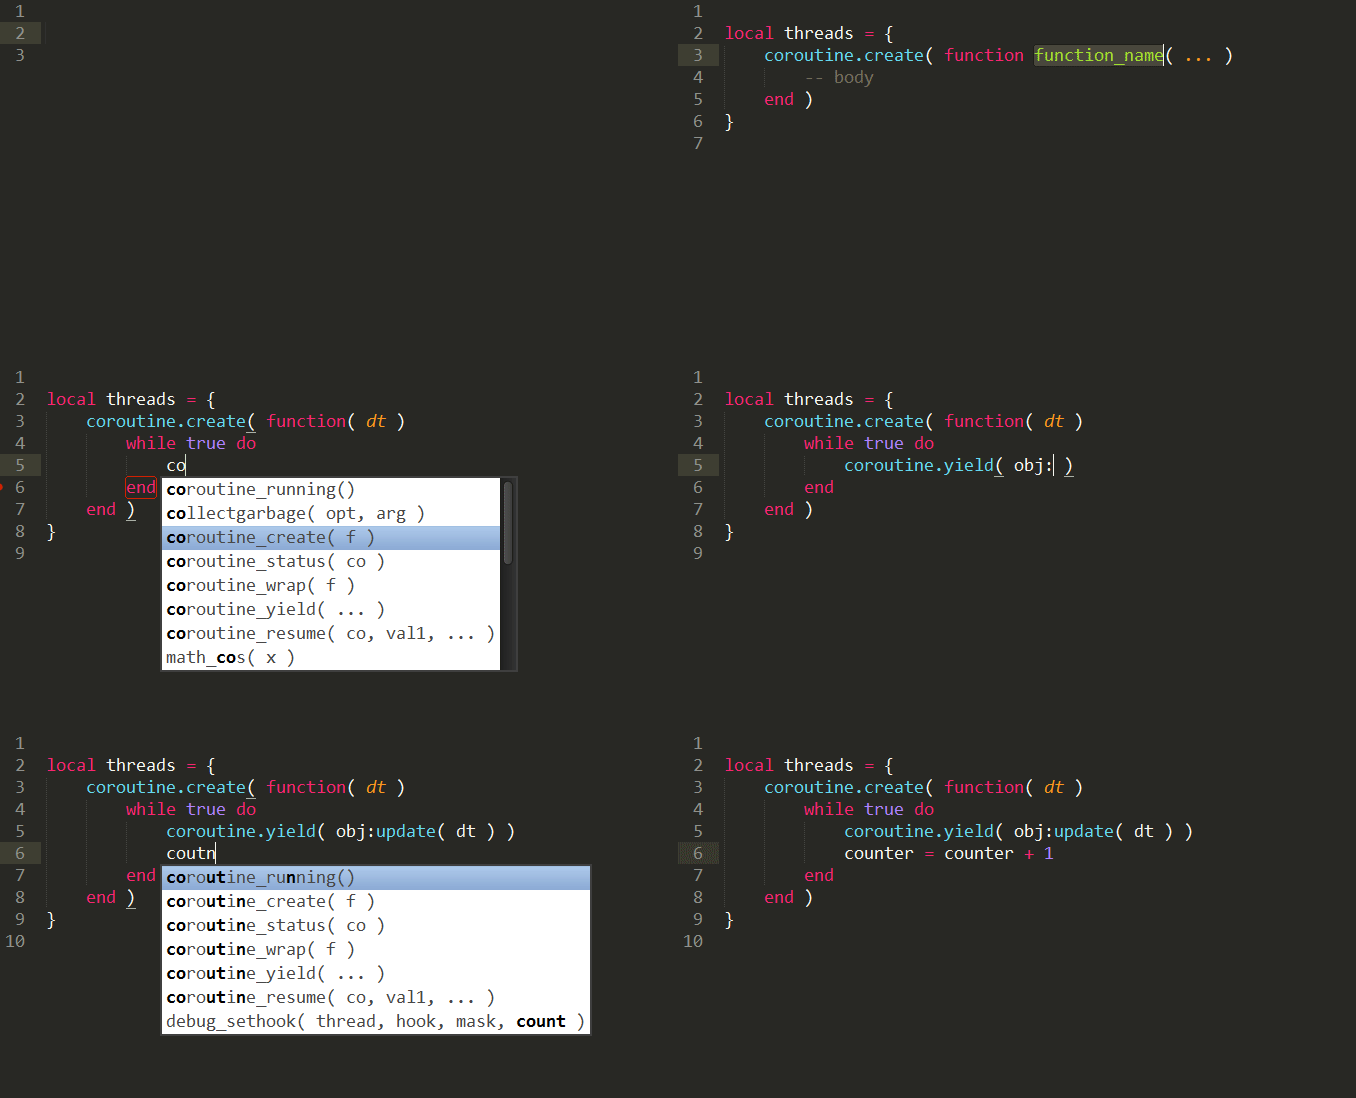 Gambar 2. Contoh penggunaan LuaExtended [
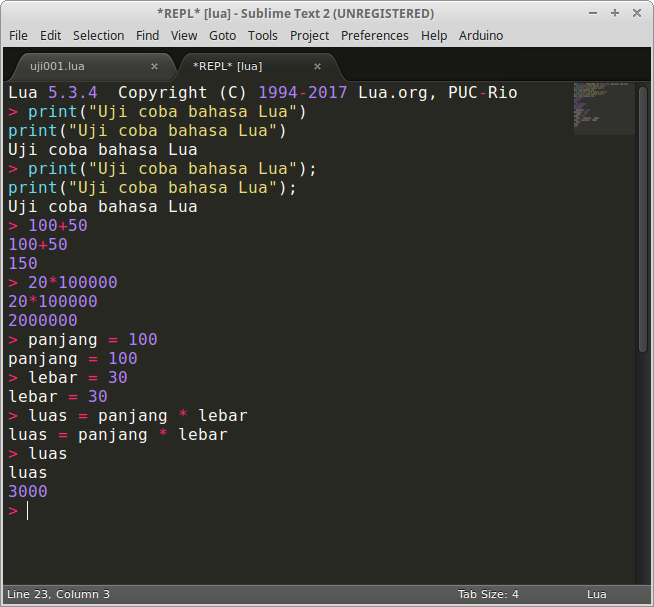 Gambar 3. Penggunan REPL untuk Lua